
4 Steps To Optimize Claude Token Usage
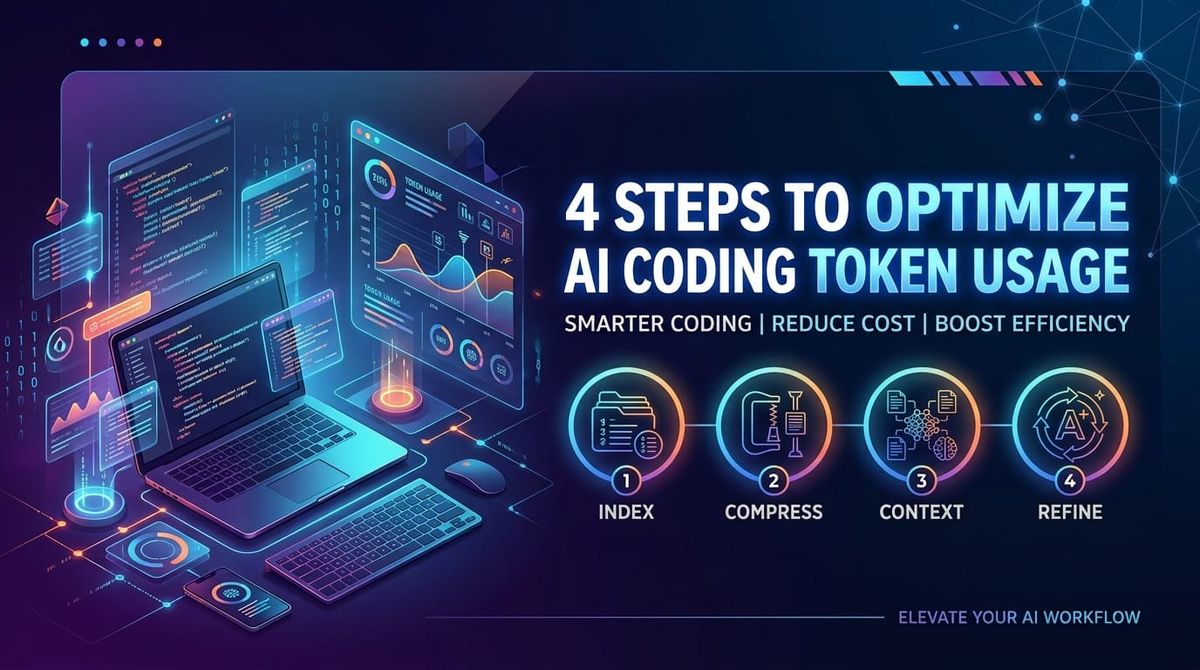
Do you get taken aback by the speed and accuracy with which modern AI models churn out code? After an hour of vibe coding, do you find yourself drowning in token bloat? Are your coding bills ever-increasing? You are not alone. I went through it all before searching for tools to optimize my coding workflow.
So, in this article, I am going to share the tools that work best for me. A clever combination of these tools takes care of pre-processing, output handling, per-session behavior, and smart session management. These dramatically cut the tokens I end up using. Each approach has its own trade-offs, so I tailor them to the task at hand and the level of accuracy I’m willing to trade for savings. Below are the four strategies I rely on, explained step by step with practical notes you can apply.
Note: This is not specific to claude code and can be applied to any coding tool!
Step 1: Index the code with a graph (CodeGraph)
Ever wondered how Google is so fast in its search? It all comes down to indexing the web pages and creating a graph out of them. Searching through the web comes down to navigating the graph. The exact formula applies here.
- I create an index of the codebase (my current project) as a graph that lets me search by natural language rather than scanning files one by one.
- Leverage the graph every time Claude does anything to the codebase.
How I implement it
The good news is that there are a ton of tools available for building and using the graph. I found CodeGraph to be quite useful for this. The repo already has 68k stars.
- Install and initialize the graph tool from the command line:
# macOS / Linux
curl -fsSL https://raw.githubusercontent.com/colbymchenry/codegraph/main/install.sh | sh
# Windows (PowerShell)
irm https://raw.githubusercontent.com/colbymchenry/codegraph/main/install.ps1 | iex
codegraph install
- Initialize the project, and the graph will be readily created for you:
cd your-project
codegraph init
- As the graph is not dynamic, the graph lags whenever code changes happen. So, just keep it synced, and you are sorted:
codegraph sync
Why it saves tokens
The reason the graph saves tokens is that you avoid reading and loading large swaths of files just to reach a small, relevant piece of code. The search is semantically guided, so you reach the right code with far fewer token-heavy reads.
Trade-offs (what to watch for)
There are two sources of truth as you work: the original codebase and the index. If syncing isn’t kept up to date, the index can become stale and mislead you. So, if something isn’t synced, you may think a function or file exists when it doesn’t (or vice versa).
At times, you’ll still need to read the actual files to confirm accuracy; the index saves reads but isn’t a substitute for verification.
Practical takeaway
Use indexing for quick, semantic access to code and modules. Keep a regular syncing workflow to minimize drift between the repo and the index. Combine indexing with other methods to get more efficient.
Step 2: Compress the outputs (RTK)
The age-old way of compressing data comes in handy with LLM coding too. Let’s say we have a verbose log and you feed the LLM to make sense of it. If we simply compress the logs and only feed the compressed version instead of the actual logs, we save tokens.
There are tools like RTK, which can be handy for this. Let's see how we can use it.
How I implement it
To install RTK, it's just a one-step command:
# homebrew
brew install rtk
# linux / mac
curl -fsSL https://raw.githubusercontent.com/rtk-ai/rtk/refs/heads/master/install.sh | sh
# cargo
cargo install --git https://github.com/rtk-ai/rtk
Or you can even use pre-built binaries if you prefer.
- Use RTK to compress verbose outputs
# instead of git log
rtk git log
The good news is that you don’t have to manually do this step. You can rely on the code-automation layer to operate the compressor automatically, so you don’t have to manually compress every time.
Why it saves tokens
The resulting outputs are shorter while preserving the essential signal, which means fewer tokens are used by the agent to interpret the results. Think of it as summarizing before feeding the coding agent.
Trade-offs (what to watch for)
- Note that the compression is lossy. Important lines or messages can be dropped.
- If you’re debugging or tracing a problem, you may want to turn compression off to see full logs and avoid missing critical details.
- Decide when to enable and disable compression based on whether you need thorough debugging information or simply a quick, high-signal overview.
Practical takeaway
Use compression for routine work to maximize token savings. Disable or bypass compression when deep debugging, troubleshooting, or self-healing checks require full visibility.
Step 3: Use Caveman (a per-session, aggressive compression)
Context is becoming an increasingly challenging beast to tackle when it comes to coding agents. And so, the community has come up with a bunch of tools, all for compression at different stages of data processing by the AI model.
Some of which are Caveman, Graphify, and Headroom. Though each of these does a slightly different job, they all have the motto to decrease token consumption. For example, see below the exact words from the Headroom GitHub repo:
Headroom compresses everything your AI agent reads: tool outputs, logs, RAG chunks, files, and conversation history, before it reaches the LLM. Same answers, fraction of the tokens.
And here is a practical running example of a comparison of an agent running with and without Caveman from their GitHub page:

Caveman is a tool designed to shorten the agent’s spoken or written output while preserving the meaning. It can drastically reduce the number of words the agent uses per session. It operates in session modes (light, full, ultra) so you can tune how much you compress based on the task.
How I implement it
To use it, simply:
- Install Caveman and set the session mode as needed:
npm install -g @caveman-ai/cli && caveman setup --install
caveman claude # or codex · gemini · aider · opencode · hermes · openclaw
- Add the skill
npx skills add JuliusBrussee/caveman
- You have months of agent history on disk.
caveman learnreads it and scores your setup. Local, read-only, no account.
caveman learn
And you are good to go! Run tasks with Caveman enabled. You can start a clock code session with Caveman Ultra for tasks where I want almost as brief a reply as possible but still sufficient. If I hit a situation requiring more detail, I switch to a lighter mode mid-session.
Why it saves tokens: The output is condensed to fewer words, which directly reduces the tokens used in responses.
Trade-offs (what to watch for)
Correctness and context can suffer because the system receives a shorter, trimmed history and responses. The agent relies on feedback from messages to build context; over-trimming can degrade the quality of answers or the reliability of the execution plan. It’s best used when you don’t need full verbatim detail, and you’re prioritizing token savings over exhaustive precision.
Practical takeaway
Use Caveman for routine, well-understood tasks where you don’t need every detail in every response. Reserve full-detail modes for planning, design work, or debugging sessions where precision matters.
Step 4: Manage the session and model selection (built-in controls and workflows)
Claude Code comes with sophisticated tools and commands to probe and control the context in any given session. Below are some:
/clear
/usage
/insights
/model
Smart session management helps you control context, model capabilities, and workflow steps to optimize token use without losing critical guidance.
I can simply inspect the current context, clear the session when starting a new task, and switch models or modes based on task requirements.
How I implement it
Regularly audit the current context. Here are simple steps I follow regularly:
- Check what is loaded in the session (interesting in the current cloud.md and related materials) and adjust as needed.
- Clear the session when starting a new task.
- Use a clear command to reset the context so you don’t pay for stale material from a previous task.
- Switch models and modes based on task needs: Use reliable models for planning and deep-dive work (often the standard high-precision model). Switch to faster or lighter models (Haiku or Sauna, depending on availability) for navigation or scheduling tasks, where speed and responsiveness are favored over ultimate depth.
- Plan first, then execute: Use a planning mode to outline steps before running a full execution, especially for programming or design tasks. For design or prototyping, rely on design-focused tools (Pencil, Figma-like workflows) to reduce the need for heavy, live coding.
Trade-offs (what to watch for)
There is always this cost vs quality trade-off. Switching to lighter models or modes can save tokens but may reduce answer quality for complex tasks.
Also, managing multiple tools and modes adds complexity; misalignment between the session context and what the model sees can cause mistakes.
Practical takeaway
One way I make it work for me is:
- Use a disciplined session workflow: audit context, clear when starting new tasks, switch models intelligently, and prefer planning before heavy execution.
- Tailor model choice to the task: plan-heavy or programming tasks with higher-precision models; routine or navigation tasks with faster, lighter models.
- Treat this as an ongoing optimization: the best setup balances token savings with acceptable accuracy, given the task at hand.
Putting it all together
I apply these four strategies in a layered, task-aware way. I start with indexing the code so I can reach relevant pieces quickly and semantically. I use output compression to keep routine work lean, turning it off for deep debugging.
I enable Caveman for aggressive word reduction on tasks where precision can tolerate shorter answers. I manage the session and models consciously to keep context tight, plan, and adjust tools to the current needs.
This combination gives me meaningful token savings while still allowing me to scale complexity when necessary.